2025 CVO Road Glide ST Kraus Riser & Handlebar Install
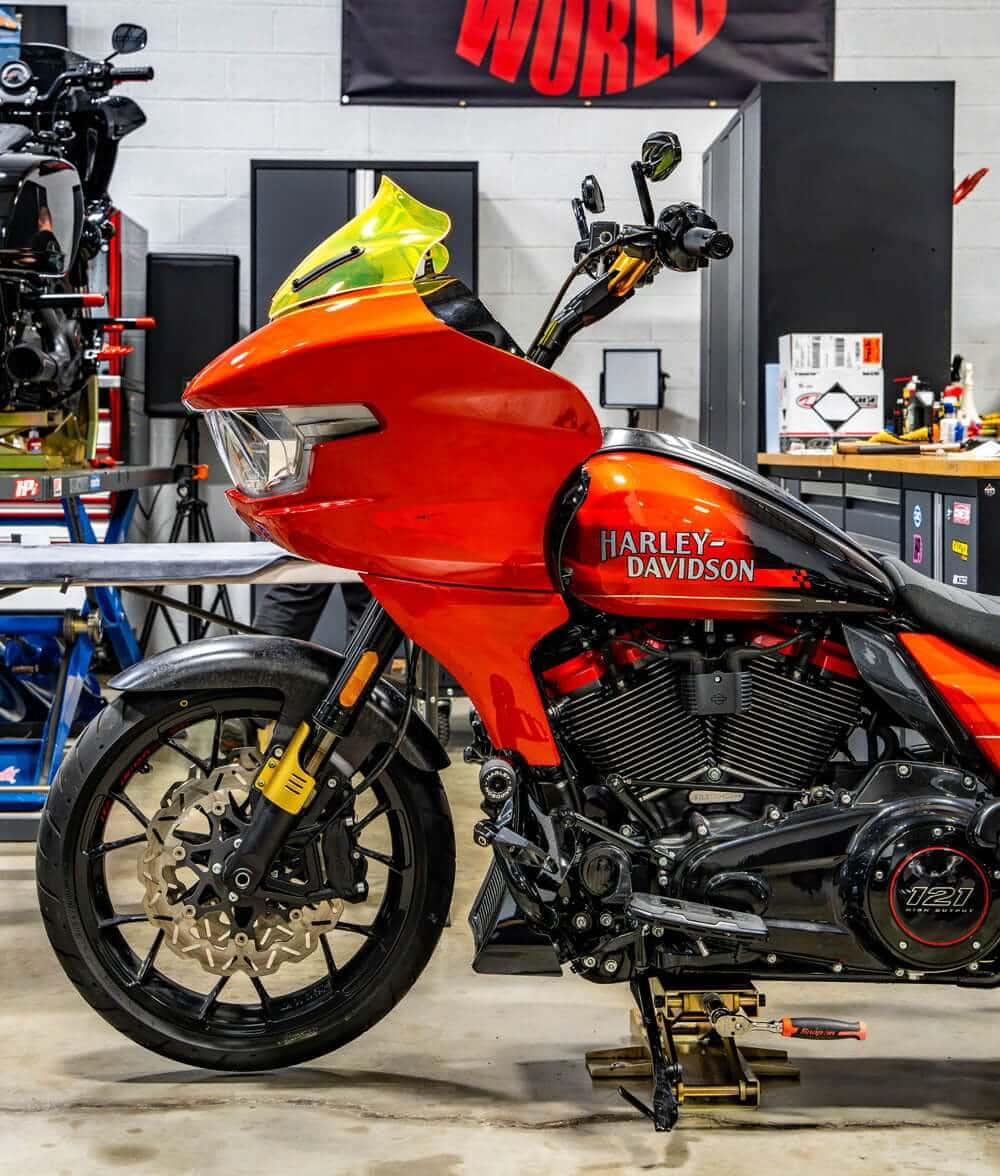
The 2025 CVO Road Glide ST is one of Harley-Davidson's most aggressive touring platforms, but its stock handlebar position can feel low for some riders or anyone who it used to a slightly more aggressive stance. Swapping to a set of Kraus Pullback risers and different bars is a very popular upgrade for this bike, and the good news is most experienced home mechanics can tackle in an afternoon with the right tools and a little patience.
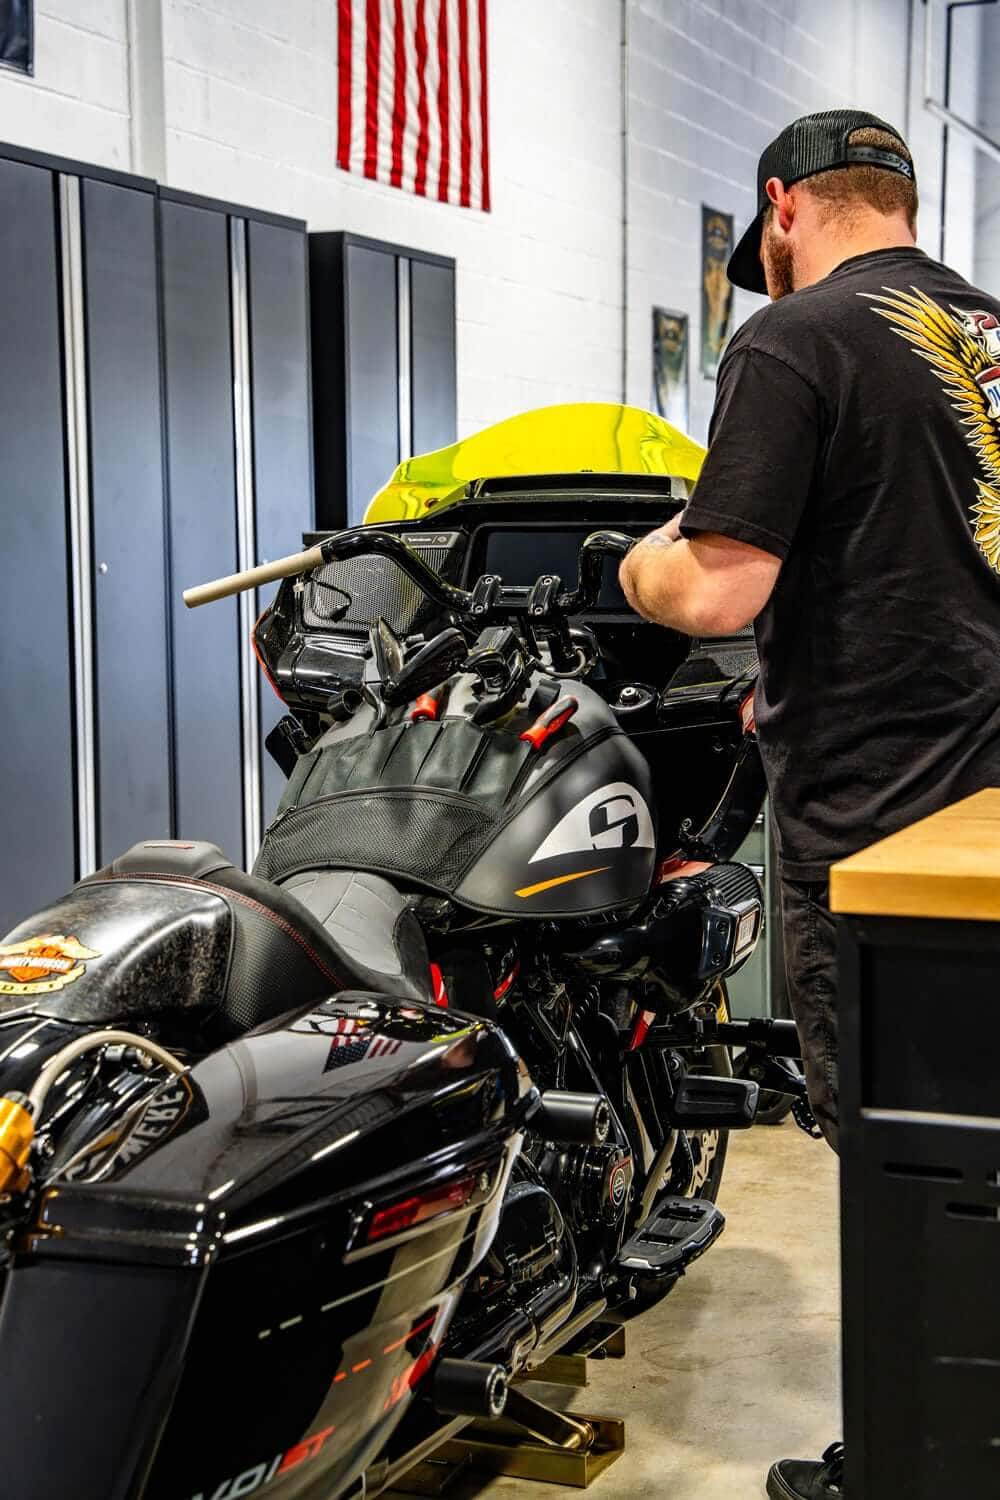
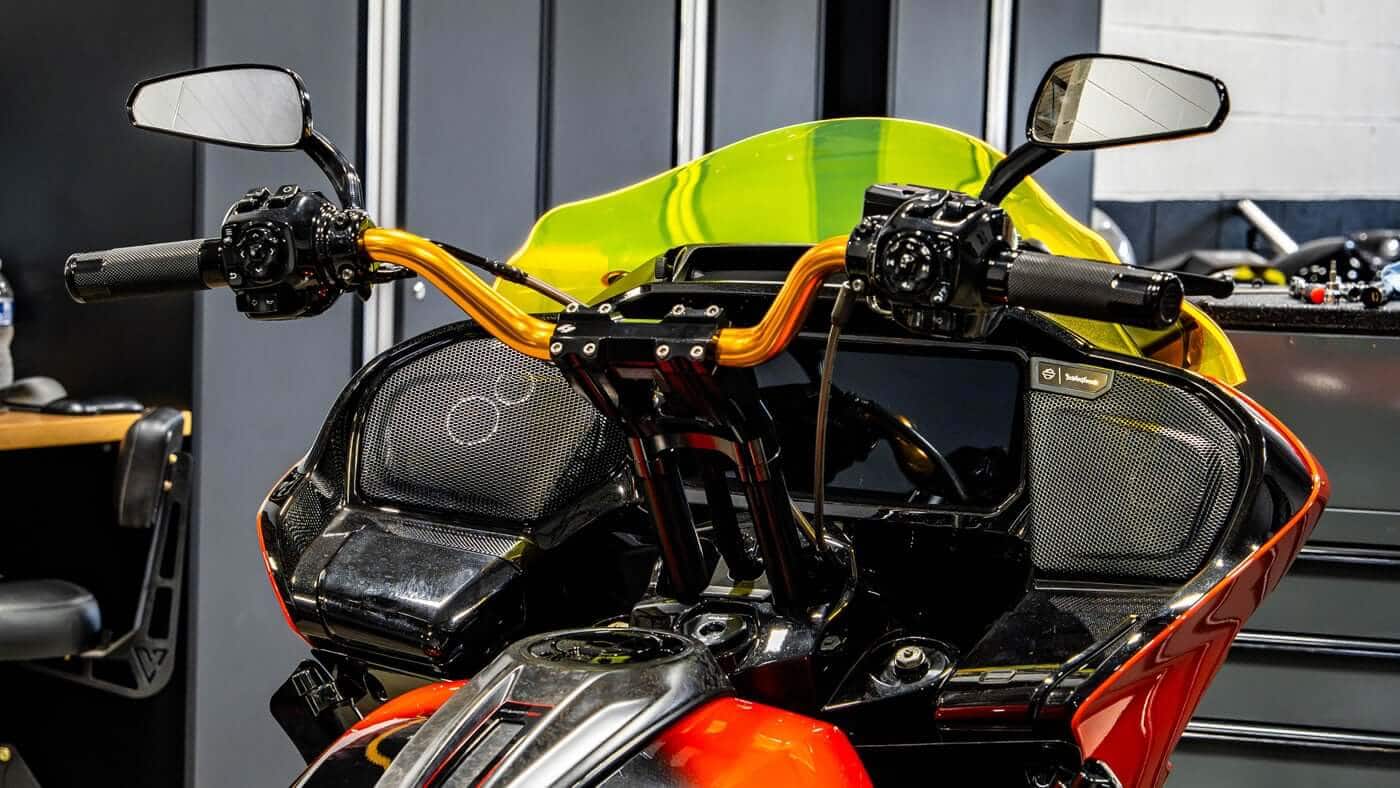
Kraus has built a reputation for precision-machined, American-made handlebar parts that combine clean aesthetics with real ergonomic benefit. Their pullback risers are a favorite among Road Glide owners because it pulls the bars back and up significantly, opening up the cockpit and reducing the forward lean that the factory setup forces on riders. We paired them with Boosted Brad DMR Honey Gold Moto bars specific to the 2024+ models.
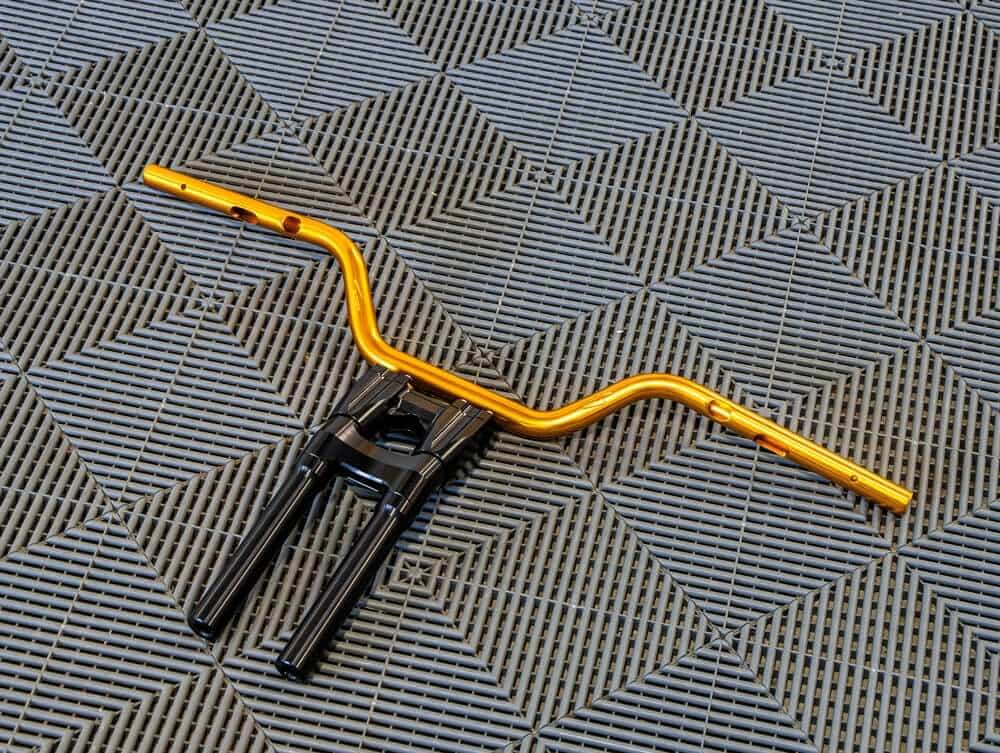
Riders typically report after the swap:
- Reduced shoulder, wrist, and lower back strain on long rides
- A more upright, commanding riding position
- Better leverage at low speeds and in parking lot maneuvers
- A noticeably cleaner look that complements the CVO's premium fit and finish
Here is a quick overview of the install process on one of our customers bikes.
1. Prep the Bike
Park the bike on a lift, center the front wheel, and disconnect the negative battery terminal. If you have a tank cover and or a towel, throw them over the bike to protect the tins from getting an accidental scratch.
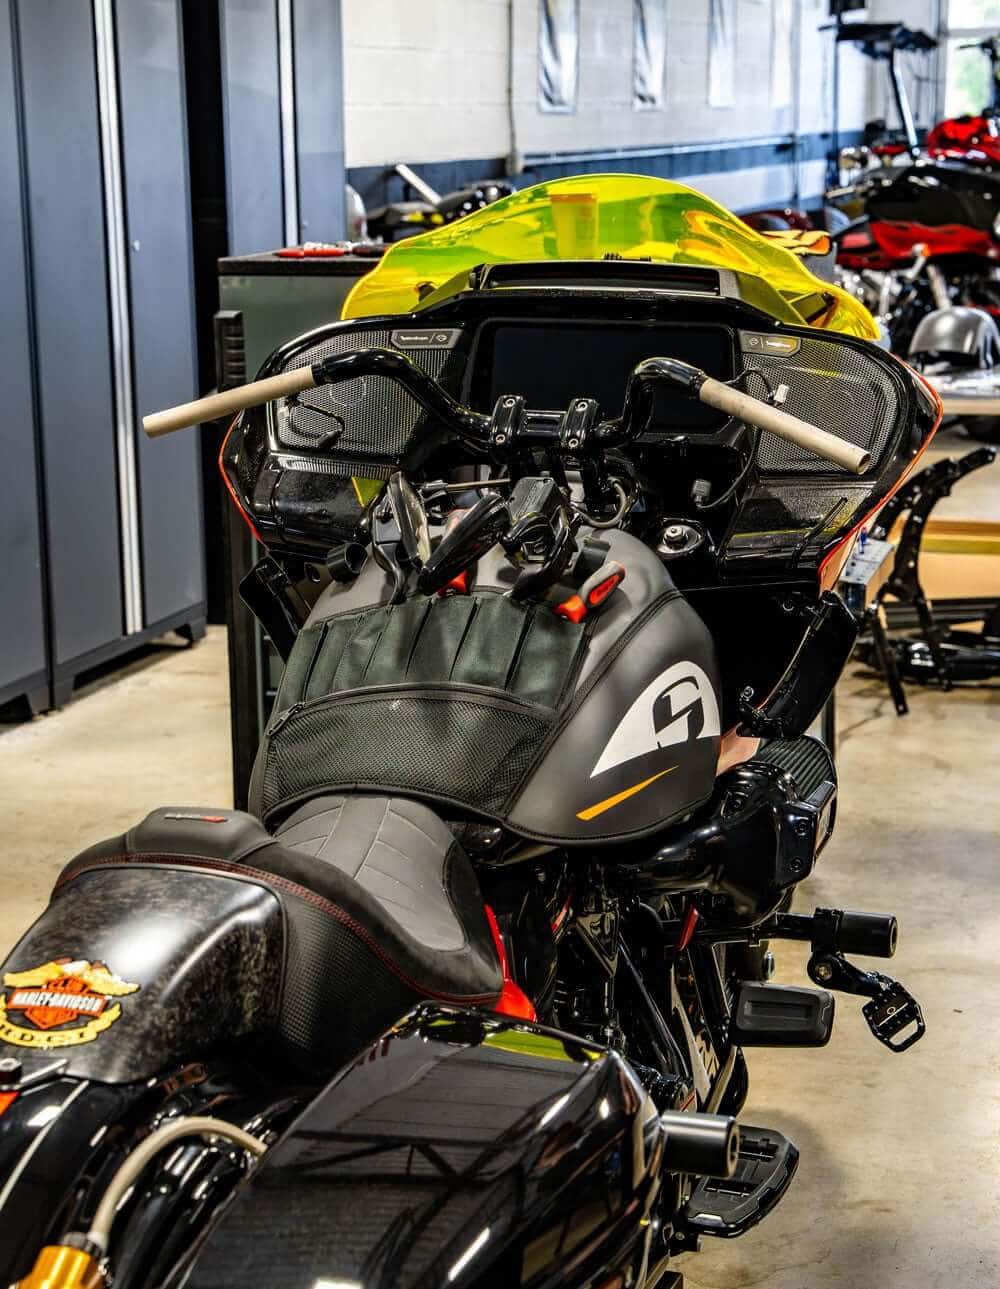
2. Remove the Stock Controls / Bar
Carefully detach the hand controls, switch housings, mirrors, and grips, and connectors noting routing paths with phone photos as you go. Disconnect the front brake line bracket and any wiring clips holding the harness to the factory riser or bar. Remove the factory riser bolts and lift away the OEM bar and riser assembly.
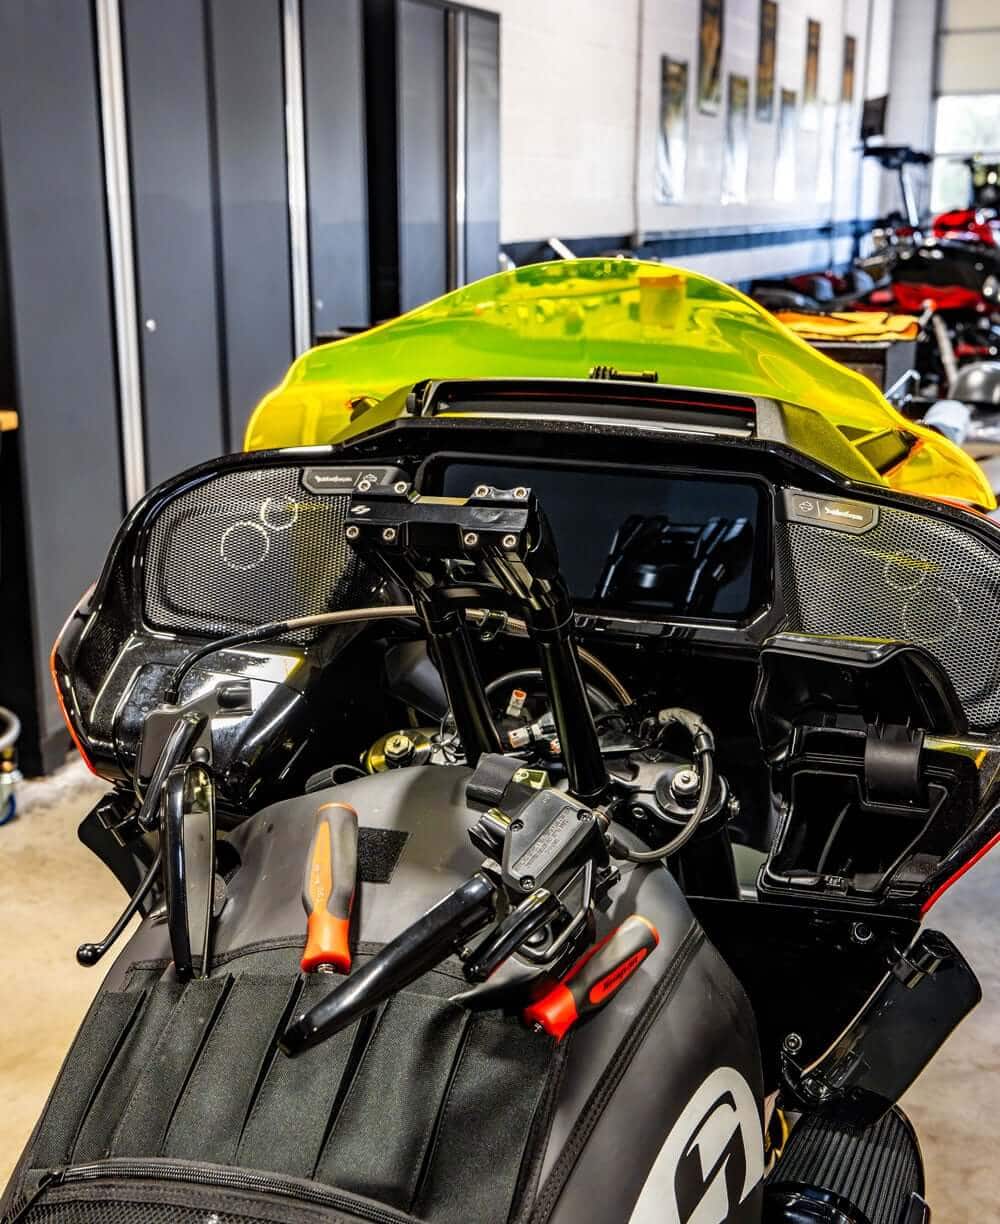
3. Install the Kraus Riser Base
Mount the Kraus riser base to the triple clamp using the supplied hardware. Apply threadlocker to the mounting bolts and torque them to spec.
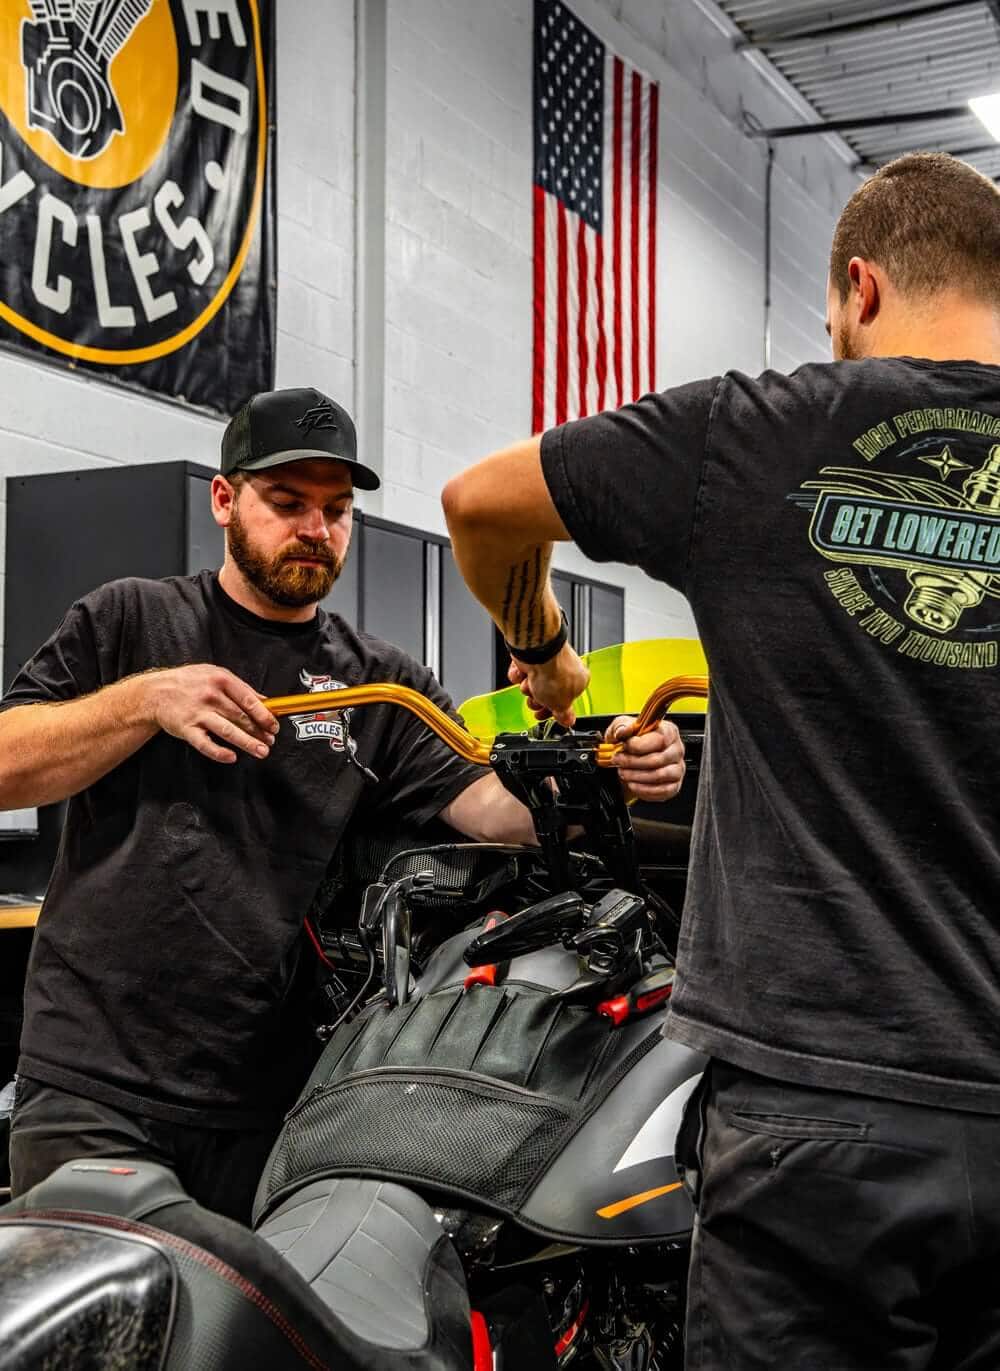
4. Run Wires through the bars & Install
While the bars are loose from the bike, feed wires through for an easier install when you're ready to clamp on the bike. Set the bar into the riser clamps, aligning it so the controls sit naturally for your reach and the cables/lines have smooth, kink-free paths. Snug the clamp bolts evenly in a crisscross pattern, then torque to spec.
5. Check Length and Route Cables & Wiring
This is the step where the 12" pullback geometry matters most. Because the bar moves up and back substantially, you'll need to check that:
- The front brake line has enough slack without binding at full lock in either direction
- Modification of the center Nacelle plug is required to clear riser legs
- Wiring harnesses for switches and grips aren't pulled taut
- Nothing rubs against the fairing or fork tubes through full steering travel
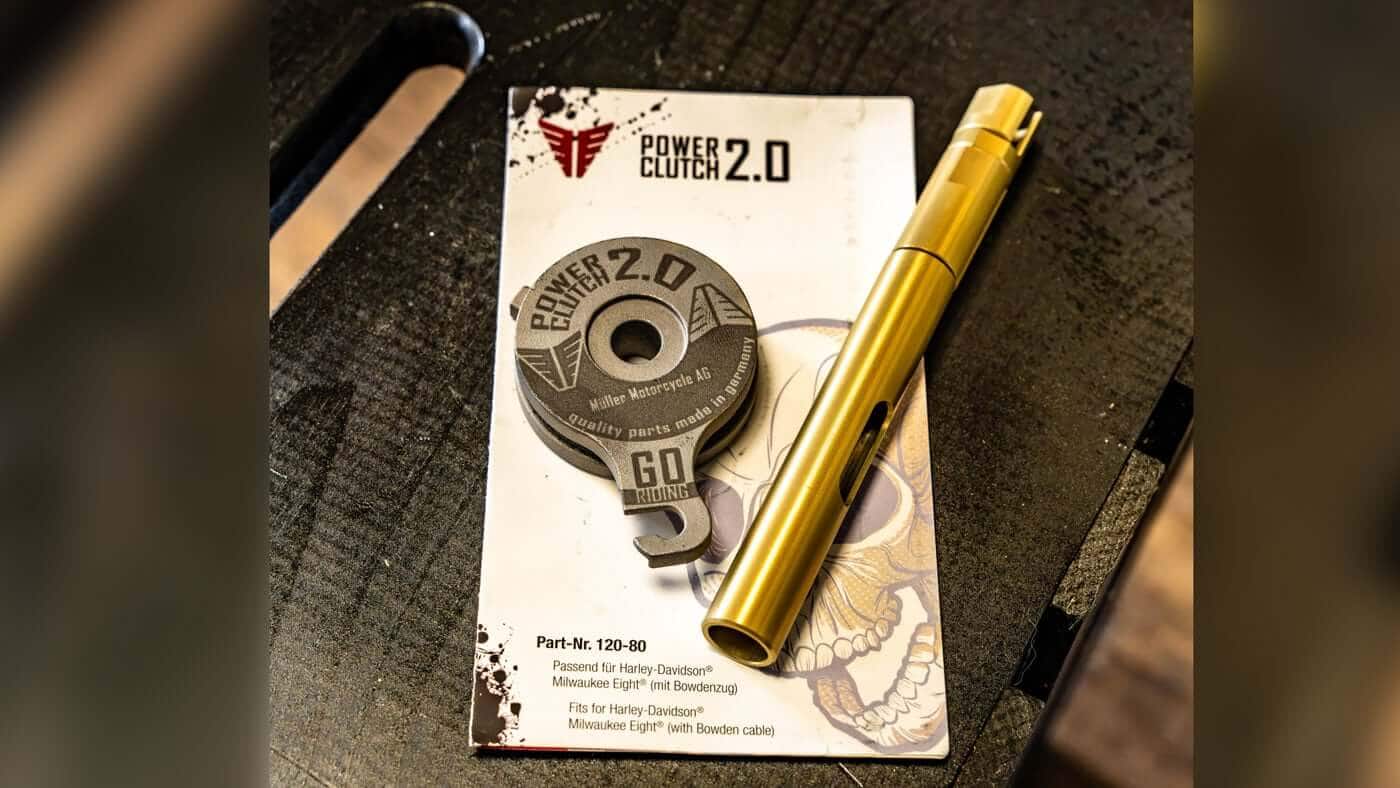
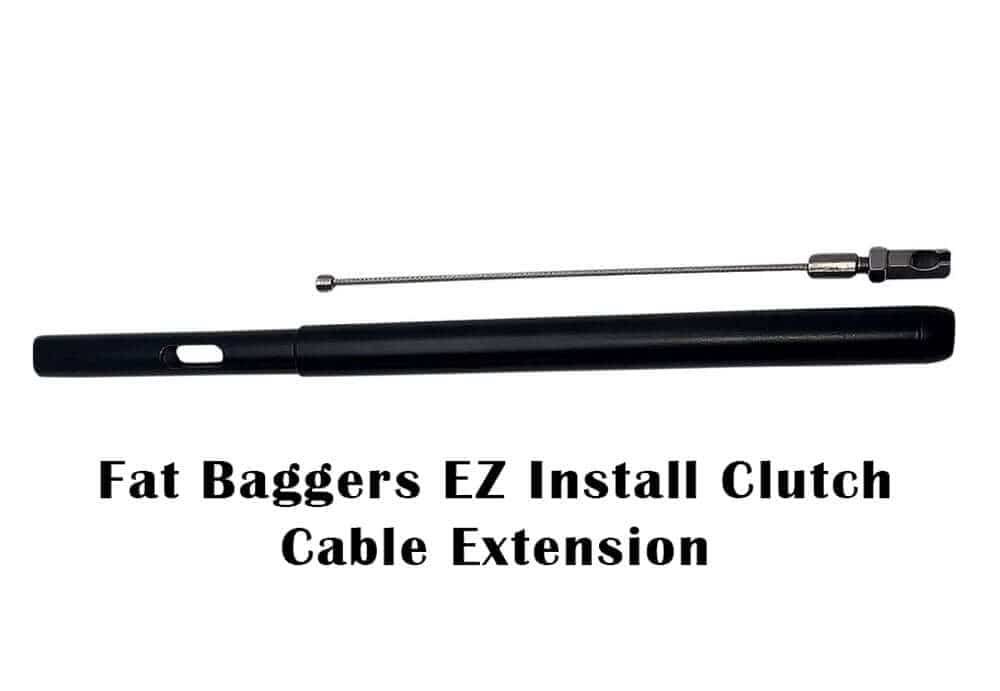
With this setup we were able to reuse the stock length clutch cable and brake line. We did use Fat Baggers 4" EZ install Clutch extension. This simple piece helps get extra length out of the stock clutch line.
6. Reinstall Controls, Grips, and Mirrors
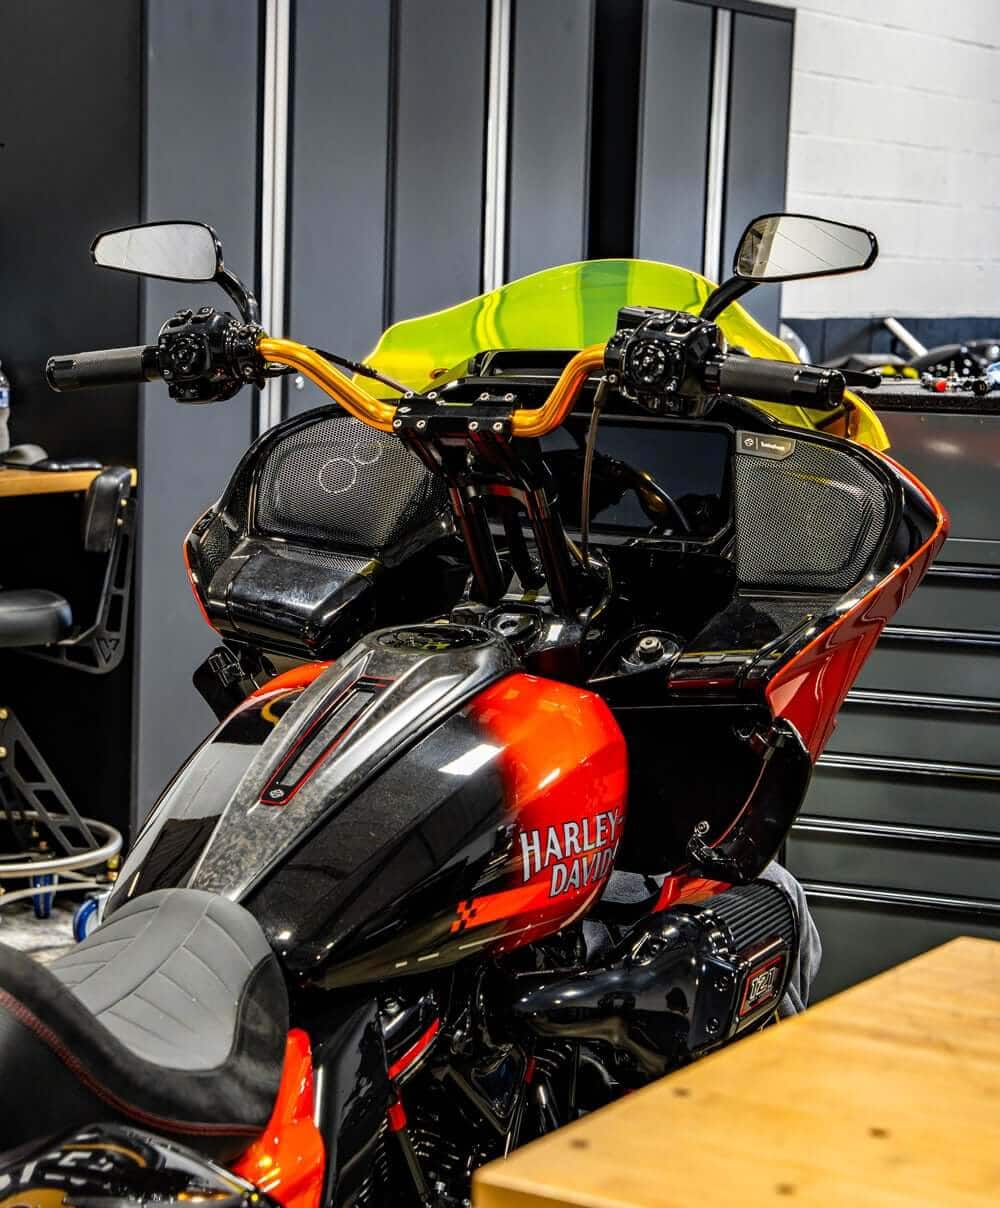
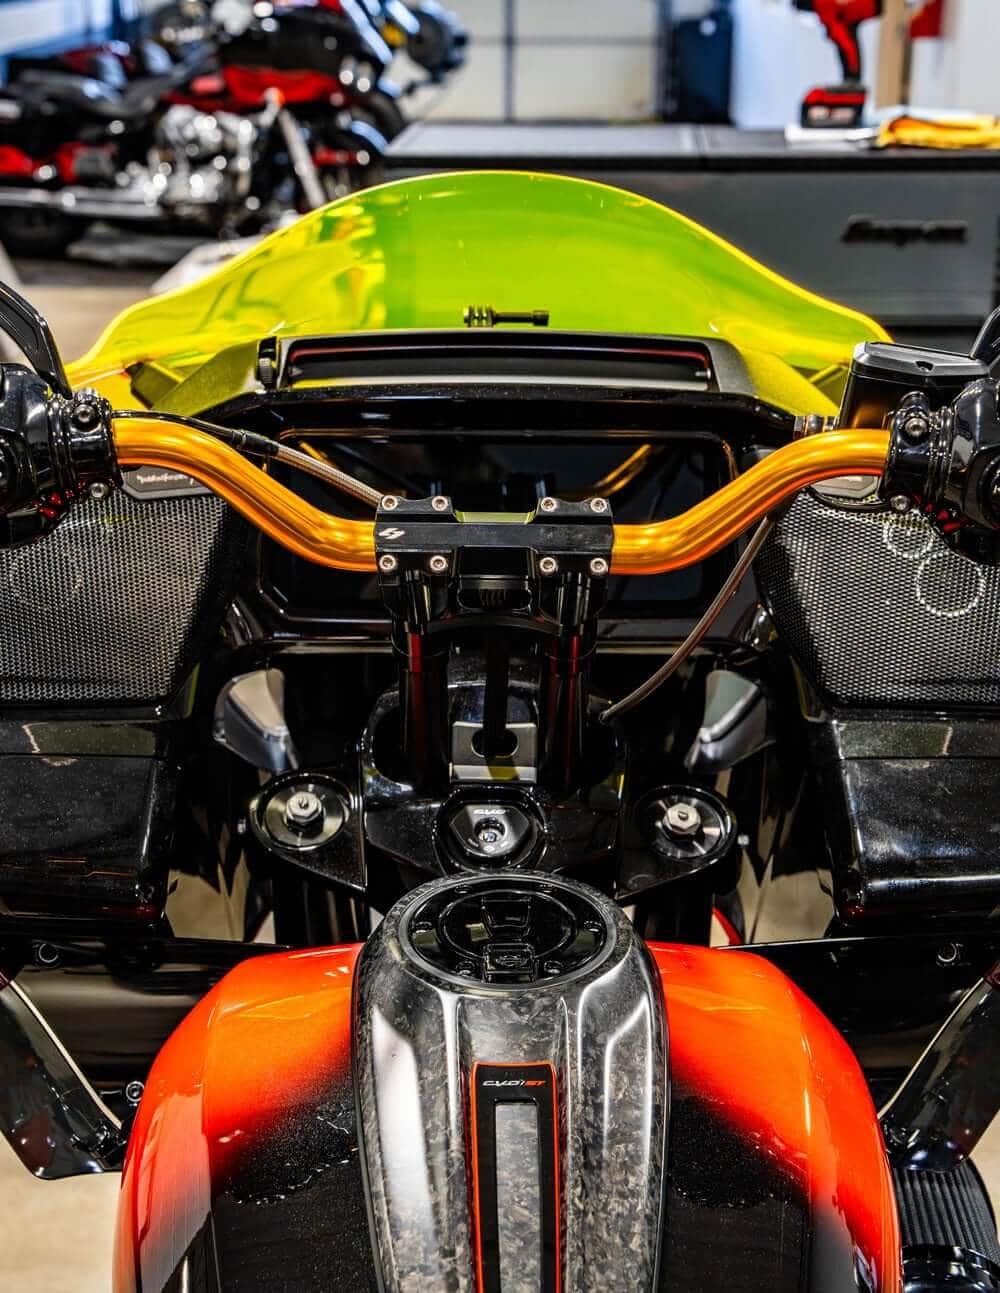
Reattach hand controls, switch housings, grips, and mirrors in their original orientation, double-checking that throttle return and lever pull feel smooth.
 7. Reconnect the Battery and Test Everything
Reconnect the battery, then with the engine is off, run through every switch, the horn, turn signals, and brake light to confirm proper function before starting the bike.
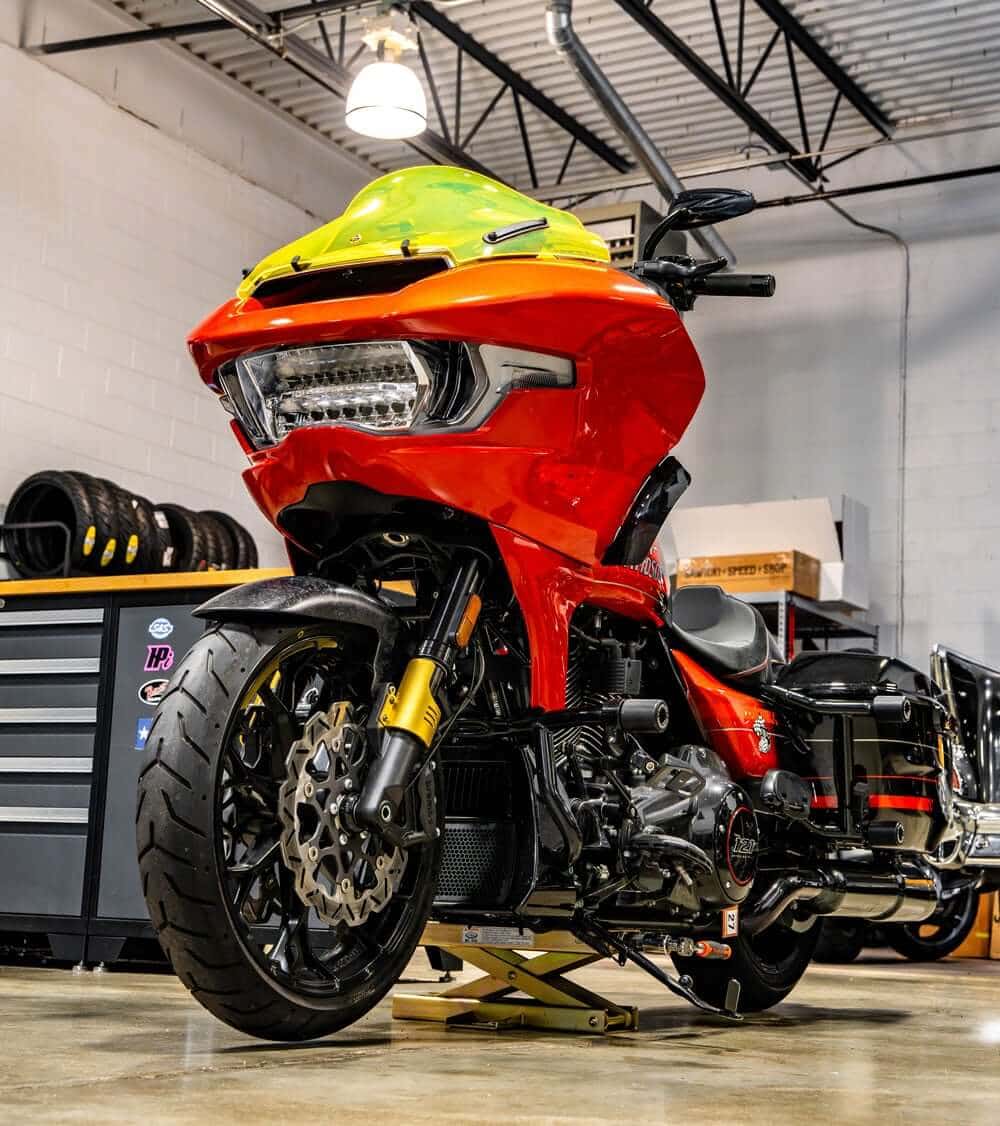
Click the Instagram link to see a quick video of the finished look.
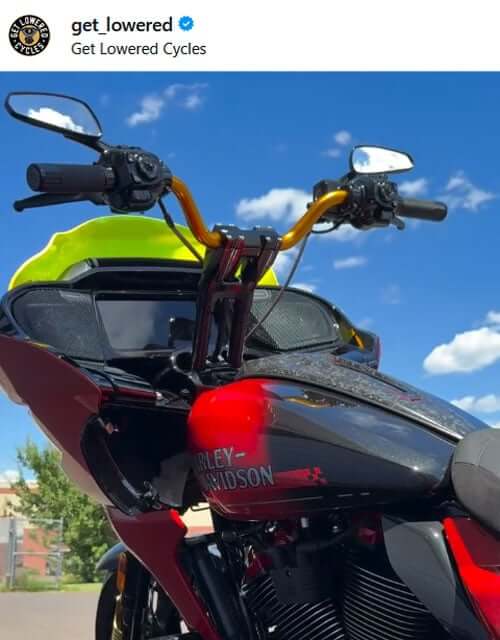
Installing 12" pullback Kraus risers on a 2025 CVO Road Glide ST is a manageable upgrade for riders comfortable with basic wrenching, but it does demand attention to detail, particularly around brake line length, cable routing, and proper torque specs. Done correctly, it transforms the riding position into something noticeably more comfortable.
If you're not fully confident handling brake line work or hydraulic bleeding yourself, this is a good job to have a certified Harley-Davidson technician finish, especially the brake system portions, since rider safety depends on that system working flawlessly every time.